Gardening
Top 4 Products For Your Home Garden
Creating a beautiful and productive home garden can be a rewarding experience, providing a space to relax, grow your own produce, and connect with nature. To achieve the best results, it’s essential to have the right tools and products that will help you maintain and enhance your garden. This article highlights four top products that every home gardener should consider.
Whether you’re a seasoned gardener or a beginner, having the right products can make all the difference in the success of your home garden. From tools that make gardening tasks easier to products that ensure healthy plant growth, investing in quality items can enhance your gardening experience. In this article, we will explore four must-have products that can help you cultivate a thriving and beautiful garden.
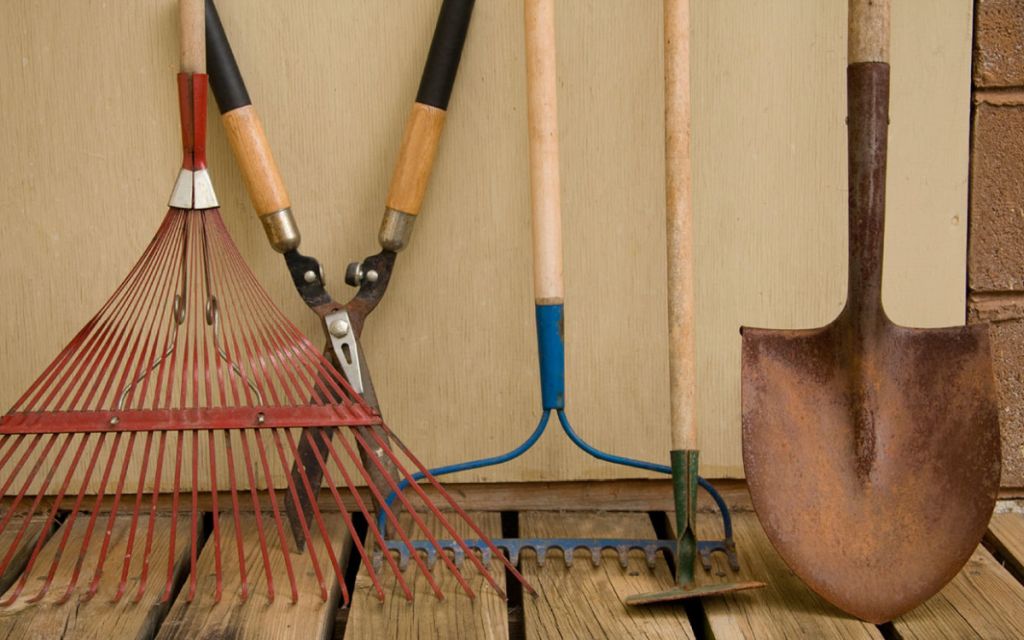
1. High-Quality Garden Tools
Every gardener needs a set of reliable, high-quality tools to handle various tasks efficiently. Investing in durable tools can save you time and effort, making gardening more enjoyable.
Essential Tools for Every Gardener
A basic set of garden tools should include a trowel, pruning shears, a garden fork, and a hand rake. These tools cover most common gardening tasks, such as planting, weeding, pruning, and soil aeration. Look for tools made from sturdy materials like stainless steel, which resist rust and wear, ensuring they last for many seasons.
Ergonomic Design for Comfort
Gardening can be physically demanding, so choosing tools with ergonomic designs can help reduce strain and discomfort. Tools with padded handles, lightweight construction, and easy-grip features are ideal. Ergonomic tools allow you to work longer and more comfortably, improving your overall gardening experience.
2. Organic Fertilizers and Soil Amendments
Healthy soil is the foundation of a successful garden. Using organic fertilizers and soil amendments can improve soil quality, promote plant health, and enhance productivity.
Benefits of Organic Fertilizers
Organic fertilizers, such as compost, manure, and worm castings, provide essential nutrients to plants while improving soil structure and fertility. They release nutrients slowly, ensuring a steady supply of food for your plants. Additionally, organic fertilizers are environmentally friendly and safe for use around children and pets.
Soil Amendments for Improved Growth
Soil amendments, such as peat moss, perlite, and vermiculite, help improve soil texture, drainage, and aeration. They are particularly beneficial for heavy clay or sandy soils, making them more suitable for plant growth. By enhancing soil conditions, these amendments promote stronger root development and healthier plants.
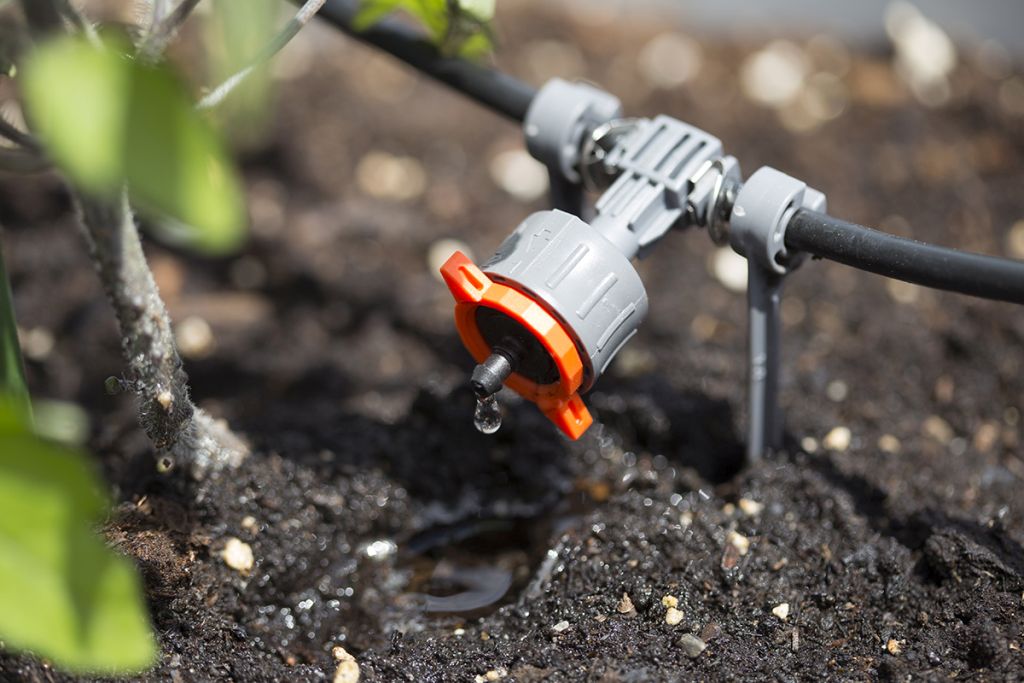
3. Efficient Irrigation Systems
Proper watering is crucial for maintaining a healthy garden. Efficient irrigation systems ensure that your plants receive the right amount of water without wasting resources.
Drip Irrigation Systems
Drip irrigation systems are highly efficient, delivering water directly to the plant roots. This method reduces water waste due to evaporation and runoff, ensuring that plants receive consistent moisture. Drip systems are easy to install and can be customized to suit the layout of your garden.
Smart Irrigation Controllers
Smart irrigation controllers use weather data and soil moisture sensors to optimize watering schedules. These controllers adjust watering times based on real-time conditions, preventing over- or under-watering. Smart systems can be controlled remotely via smartphone apps, providing convenience and peace of mind.
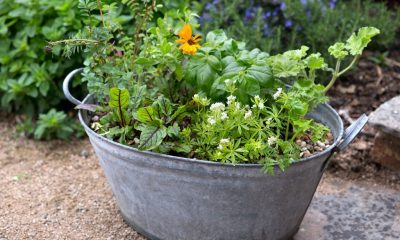
4. Raised Garden Beds
Raised garden beds offer numerous advantages, making them a popular choice for home gardeners. They improve soil conditions, enhance accessibility, and extend the growing season.
Advantages of Raised Garden Beds
Raised beds provide better drainage and prevent soil compaction, promoting healthier plant roots. They also allow you to control soil quality more effectively, making it easier to grow a variety of plants. Additionally, raised beds reduce the need for bending and kneeling, making gardening more accessible for people with physical limitations.
Choosing the Right Materials
Raised garden beds can be made from various materials, including wood, metal, and composite. Cedar and redwood are popular choices due to their natural resistance to rot and insects. When selecting materials, consider durability, aesthetics, and budget to find the best option for your garden.
Conclusion
A successful home garden requires the right products to support plant growth and make gardening tasks more manageable. High-quality garden tools, organic fertilizers, efficient irrigation systems, and raised garden beds are essential investments that can enhance your gardening experience. By incorporating these top products into your garden, you can enjoy a more productive and enjoyable gardening journey. Whether you’re growing flowers, vegetables, or herbs, these tools and supplies will help you create a thriving and beautiful garden space.
Gardening
Prepare Your Lawn for Summer Heat

Did you know that you can pre-condition your lawn so that it can withstand summer heat?
According to the non-profit Turf Resource Center, for the best results, and an even stronger lawn when the summer begins to fade toward autumn, you should start immediately to prepare your lawn by following these simple steps:
Step 1. Reduce or eliminate fertilizer and weed control applications at least 30 days before you expect the temperatures to start increasing toward summer highs. While fertilizers encourage growth, they also create a lush rush of growth that does not withstand the high summer temperatures very well. Weed-killing herbicides, while targeting unwanted plants, may also place grass under stress that reduces its rate of growth.
Step 2. Gradually raise the cutting height of your mower by 25 to 50 percent as the temperatures increase during the summer. Longer grass encourages deeper roots and shades the soil better.
Step 3. Mow as frequently as necessary so you never remove more than one-third of the grass blade at a time. Increased mowing frequency will encourage deeper roots that are essential to your lawn’s health when the summer gets hotter and hotter. Also, always make sure your mower blade is sharp so that the grass blade is cut cleanly and not ripped raggedly.
Step 4. Water your lawn late at night or early morning, at a rate that can soak deeply into the soil. Most lawns need about on-inch of rain or irrigation water every week. Light and frequent sprinklings encourage shallow roots that can’t provide the grass with all of the moisture it will need during hotter times. Infrequent, deep watering encourages deeper and deeper roots.
Step 5. If severe watering restrictions are enforced, ration the water available to you by establishing priorities for your lawn. You may want to use the water on the portion of your yard that receives the most use or traffic or apply it to that area of your yard that you want to keep green. If proper steps have been taken, allowing your lawn to go dormant and be a golden brown during the hottest part of the summer can be an acceptable solution as it should re-green when the heat subsides and water can be applied.
Attempting to maintain an entire lawn that is perfectly green, when only limited water is available, may be impractical and certainly frustrating. It could also result in a weaker lawn if you attempt to lightly sprinkle the entire lawn.
Step 6. As the summer heat subsides, or watering restrictions are eased, you can start by once again watering deeply, but infrequently; allow increased traffic on all areas and gradually lower the mowing height. If weed control is necessary, you should first allow the grass to re-establish its health.
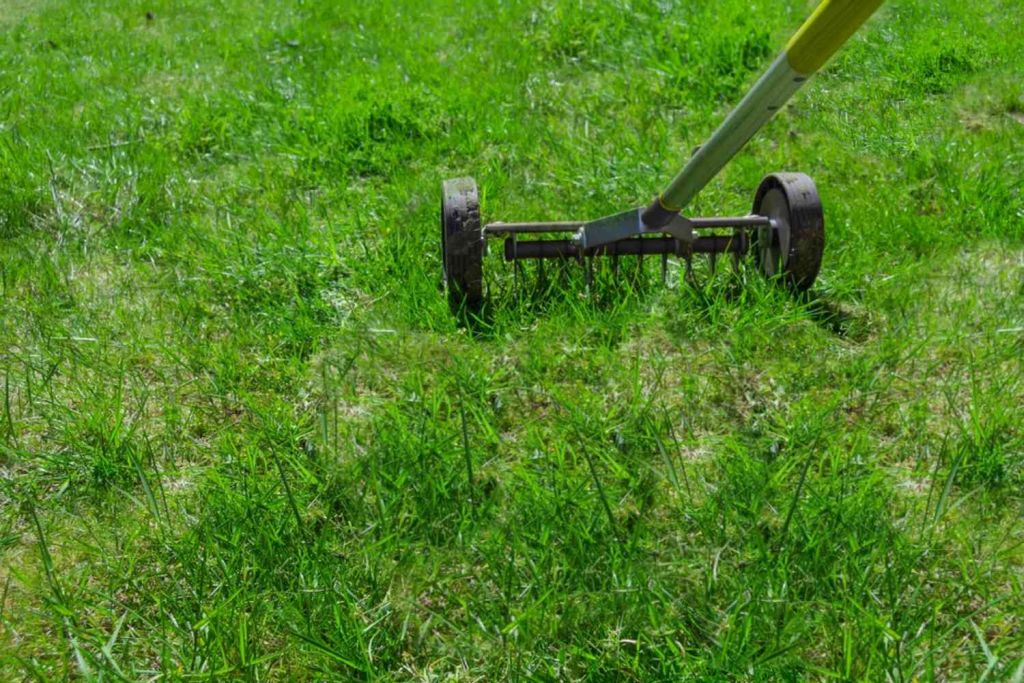
Step 7. Actions you can take in early fall, to strengthen your lawn for the winter and especially next summer, include aerating and/or dethatching your lawn (gas-powered, core-removal aerators and thatch removal units are available from lawn and garden suppliers or broad-based rental stores). A week or two after these operations, apply a well-balanced, slow-release fertilizer. If a soil test shows your lawn to be deficient in potassium, higher levels should be applied as this nutrient encourages rooting that improves heat avoidance and tolerance.
Gardening
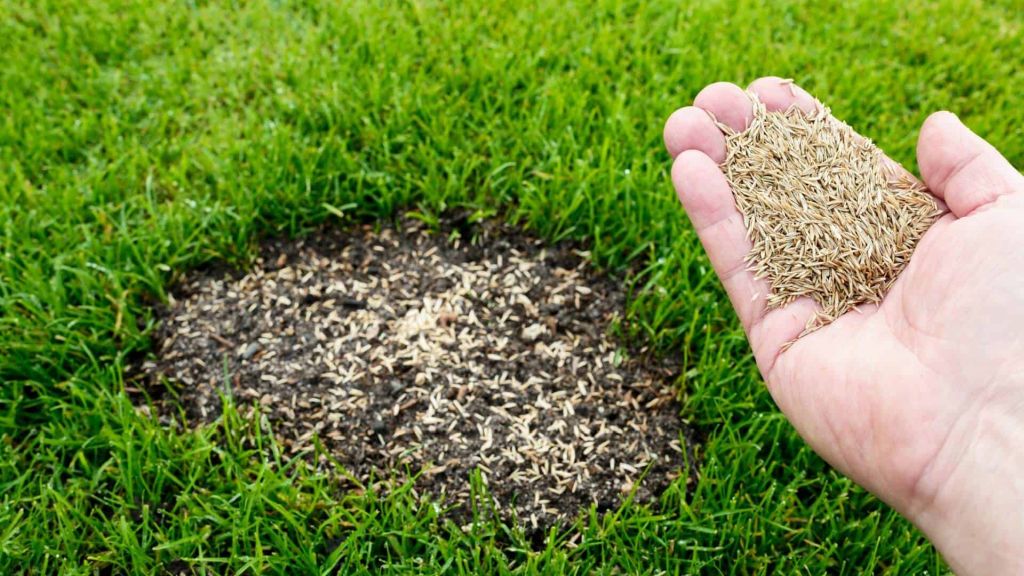
Top Dressing Your Lawn: How to Level Uneven Terrain
Low spots in an otherwise level lawn are caused by several factors. Most homeowners would like to get rid of them. Mowing over an uneven terrain can get tiring very quickly, both physically and emotionally.
Depressions in the soil often occur where gas, water and sewer lines are installed. The soil surrounding the pipes doesn’t immediately settle, but after a few years, you may find sunken trenches in the lawn once the soil packs down.
Sunken areas are also caused by the decay of old tree stumps, and the result can literally appear overnight. One former client of mine had chopped down a dying American Elm tree on her property and had buried its roots when she first purchased the home. Twenty years later she hired my landscaping firm to completely regrade and reseed her lawn. At the time, we were unaware of the previous removal and the lawn had only minor depressions.
When you put in a new lawn, you must water it extensively for the first few weeks, which we did for her. All was going well until about three weeks after we had started the project when I received a phone call from her early one morning. There was a huge sunken hole where the old tree had been. She was in a panic, wondering what my landscape crew had done to her yard. After some questioning, she remembered removing the old tree. It took twenty years for the roots to decay, but with the consistent watering, the soil around the roots had finally and quickly settled.
Winter freezing and thawing can also create high and rough spots in the lawn. As the water in the soil freezes, it expands. When it melts, the soil doesn’t always settle back evenly.
For many years, the traditional method for leveling a lawn was to compress the high areas down to the low spots. This was usually accomplished with large, steel cylinders, filled with concrete or water, which were rolled back and forth across the lawn. This practice is no longer recommended because it squeezes the air space out of the soil into which roots need to grow and breathe.
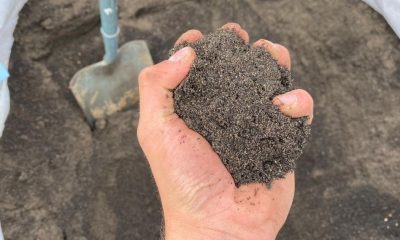
Modern Approach: Top Dressing Your Lawn
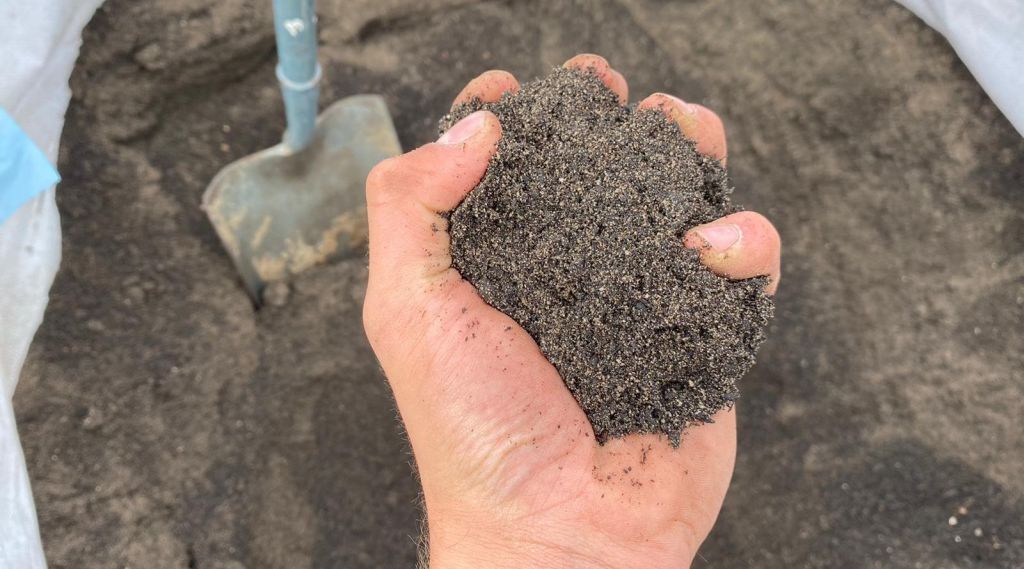
Today, low spots are removed by top dressing the lawn, which means adding topsoil to the low spots and bringing them up to the same level as the higher grade. Dumping small piles of soil across the yard and raking it out while leaving the grass in place accomplishes this.
Where the new soil depth is less in 1 to 1½ inches, the grass will probably grow back up through the filled area. I do not recommend placing more than three inches of soil on top of grass because it will smother the old and may cause it to decay that could create methane gas that can kill the new grass growing above it.0
Instead, in the deeper spots, I suggest splitting open the existing sod and filling in beneath it with soil, then relaying the sod. You could also top dress half the depth this year and the remainder the following year. You can also remove the old grass, add soil and reseed or resod areas or whole lawns.
To determine how much soil you will need, measure the length, width and average depth of the shallows or dips in question. A cubic yard of pulverized and blended topsoil, which is machine processed to clumps no larger that the size of the end of you finger, will cover a 648 square foot area to a depth of half an inch.
Now is the time to get the materials on hand as well as the mindset to begin top dressing the lawn. Functionally do the job between August 15th and September 10th. The days are getting shorter and the nights are getting cooler. These factors will keep the watering responsibilities more manageable and the weed seeds will be less likely to germinate in the Fall. This gives the lawn a better chance to grow back quickly and be mowed 4 or more times and be ready for winter.
Gardening
Guide to Growing and Enjoying Herb Gardens: History, Cultivation, and Practical Tips
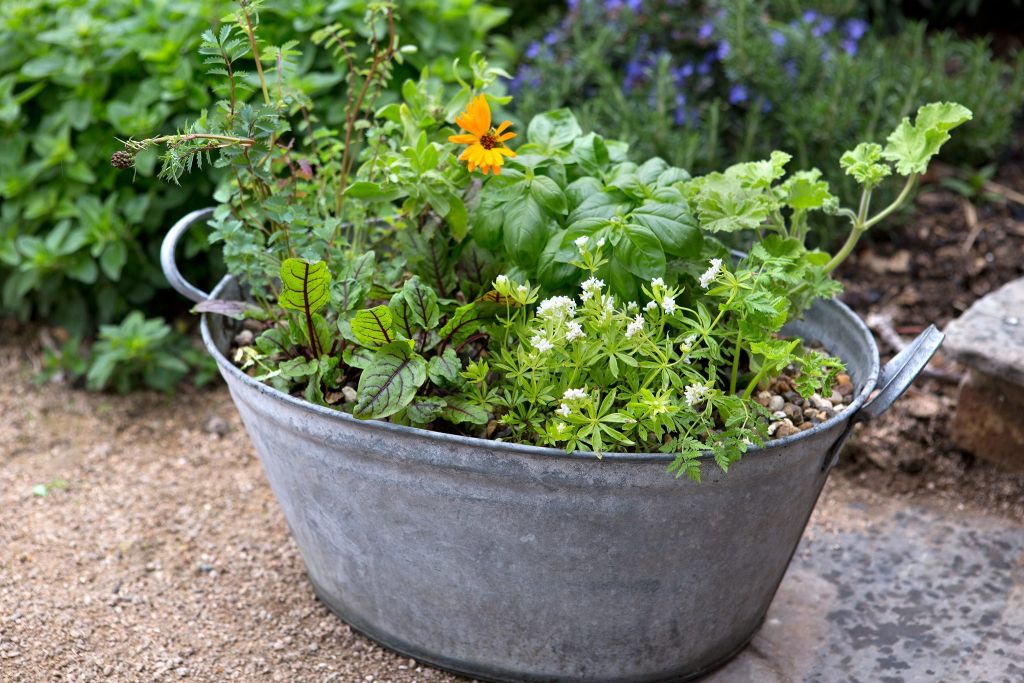
Throughout history, herbs have been used as medicines, in cooking, for dyes and for fragrance. The Greek physician and father of medicine listed several hundred herb remedies which were used for many centuries. During the Elizabethan Age of the 16th century, the culinary use of herbs reached its peak, and elaborate, decorative herb gardens would yield as many as 60 varieties of herbs.
Although most herbs for these purposes can now be bought pre-packaged at the store, growing them at home has again become very popular. They not only serve many useful purposes, but add fragrance, color and texture to the garden as well.
Many herbs can grow as border plants in most gardens, but most grow better in plots of their own. If space is a limitation, they also grow very well in window boxes and on sunny window sills.
Herbs thrive in light, loamy, well-drained soil, but they can grow well even in less fertile soil. All herbs, except Sorrel, thrive in alkaline soils and prosper from an application of fertilizer containing some lime applied once a year.
Choose an area at least three feet by five feet which receives a lot of sun. Because an herb garden can look pretty bedraggled in the winter, the herb garden should not generally serve as a focal point for the yard. Located next to the back door or kitchen is a good spot.
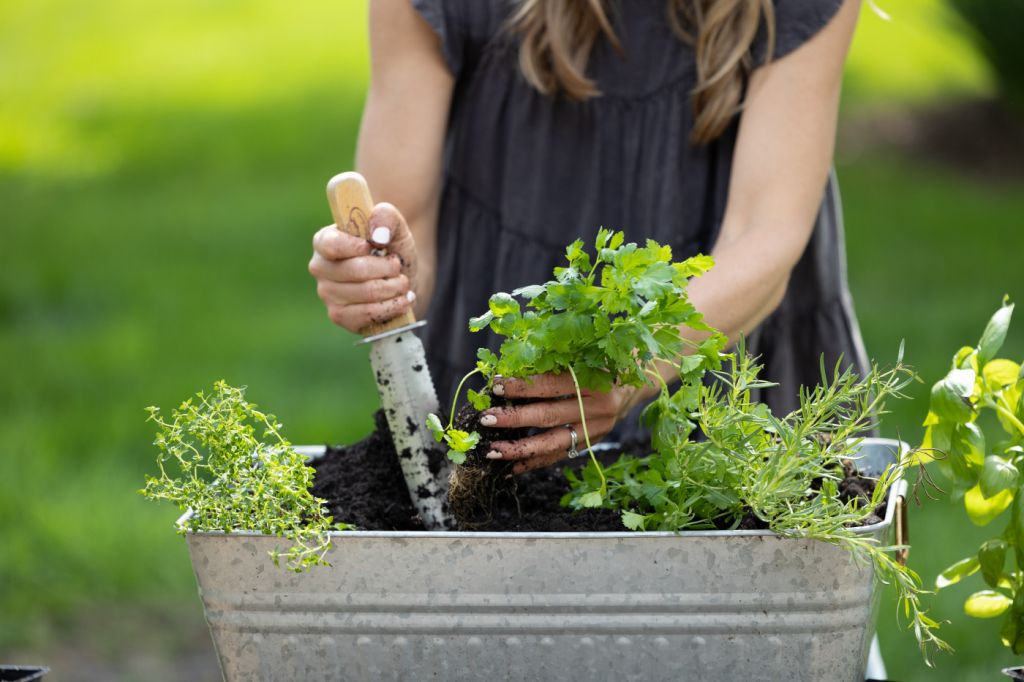
Now is the best time to prepare the soil. It should be prepared to a depth of about six inches and raked to a fine cultivation.
Herbs are either annuals or perennials and can be purchased as seeds or seedlings. Some varieties come in both forms. Seeds should be sown up to half an inch deep and eight to twelve inches apart, depending upon the variety. Once seedlings are large enough to handle, thin them no closer than three inches apart.
The herb garden should be weeded and watered once a week. Herbs generally do not take any more care than other plants.
Herbs are harvested in a number of ways depending upon the variety. Almost all are used dried, and some can be harvested and frozen. Depending upon the variety, seeds, flowers, stems and foliage may be used.
Some of the more popular herbs used in cooking which grow well in this area include: sage, thyme, mint, parsley, mustard, basil, chives, celery and winter cress. Bay, rosemary and lavender are known for their fragrance, and peppermint, chamomile, lugwort, foxglove and feverfew are known for their medical qualities.
Fore more information about herbs and herb gardening, contact your local garden center. Many communities also have a branch of the Herb Society in their area.
Herbs are fun to grow and use and are an easy way to celebrate a bit of history and out some seasoning into your life.

Exercise and Supplements for a Better Lifestyle

Seasonal Eating: What to Cook in Spring, Summer, Fall, and Winter

The Rise of Glamping: Luxury in the Wild

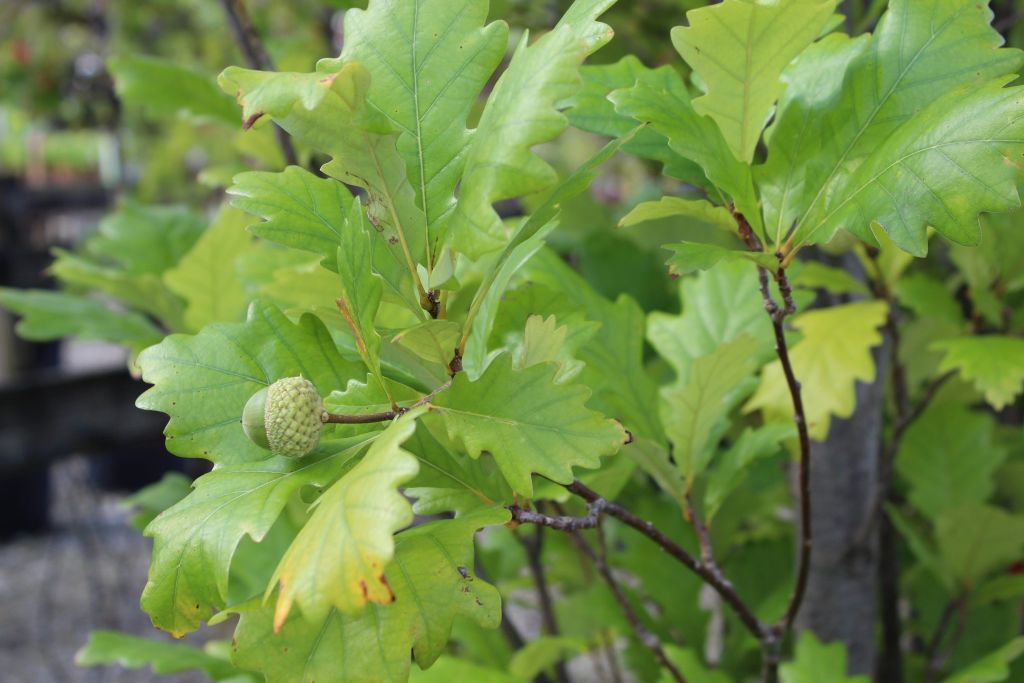
Fall is the Best Time To Plant Shade Trees

Cooking for Special Diets
The Regal Prince Oak: A Superior Columnar Choice
-
 Gardening2 years ago
Fall is the Best Time To Plant Shade Trees
-
 Food and Cooking2 years ago
Cooking for Special Diets
-
Gardening2 years ago
The Regal Prince Oak: A Superior Columnar Choice
-

 Food and Cooking2 years ago
The Allure of Korean Evodia: A Gardener’s Delight
-

 Food and Cooking2 years ago
Journey Through Global Flavors
-
 Gardening2 years ago
Guide to Growing and Enjoying Herb Gardens: History, Cultivation, and Practical Tips
-
 Gardening2 years ago
Top Dressing Your Lawn: How to Level Uneven Terrain
-

 Food and Cooking2 years ago
Best Food for Hot Summer Days